Do you follow me on Instagram? Yes? Hooray, thank you! I hope you enjoy my posts there. I like posting in-progress shots of my work, pictures of me at conventions, and pics with my art buddies.
BUT.
There's more that you might be missing!
Instagram has a cool feature I've been playing with called "Stories." Much like the famed Snapchat, Stories lets me build a little fun narrative. They're usually snapshots or tiny videos of what I get up to throughout the day that give you an extra special behind-the-scenes peek.

You can get quality humor like this!

And amusing, melting self portraits like this!

And don't forget great snaps of my Studio Assistant!

Bits and bobs about my process as I go...

... and weird closeups of the tips of my markers!
These stories constantly update throughout the day as I add to it, so you can see what weird art-related (and sometimes totally personal) shenanigans I get up to! Some days I post more than others, and I'm sure some days I won't post at all. These stories also disappear after 24 hours, so it's always immediate "right now" content... and you might be missing stuff if you don't check in daily (that's the scheme, see? Good thinking Instagram. I don't even want to talk about how much of my day I spend watching others' stories...)
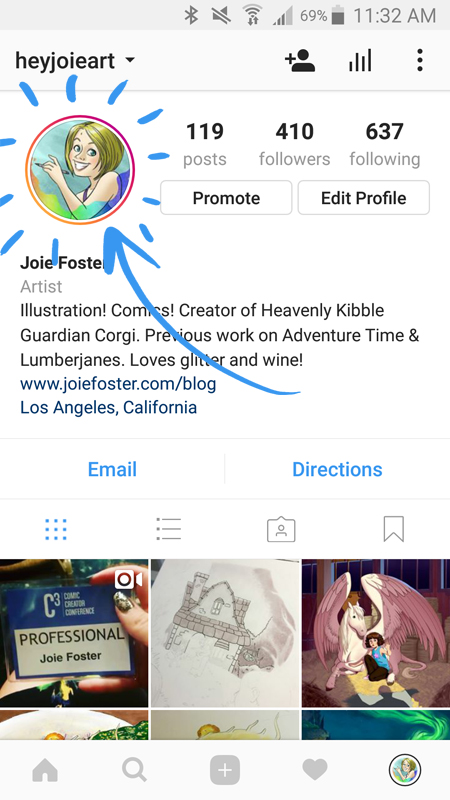
Here's how to see 'em!
So if you're on board, head to your Instagram app and check the top of your feed! There's a horizontal row of profile pictures with a little sunset-gradient circle around them. Those are all the people you follow whose Stories you might be missing! Alternatively, you can go to my profile and click on my pic (as seen above).
Hope you enjoy, and maybe it'll inspire you to try it for yourself, too! See ya there.